Lightroom 6 Facial Recognition Tutorial - Part 2
..continuing on from Part 1 of this tutorial.
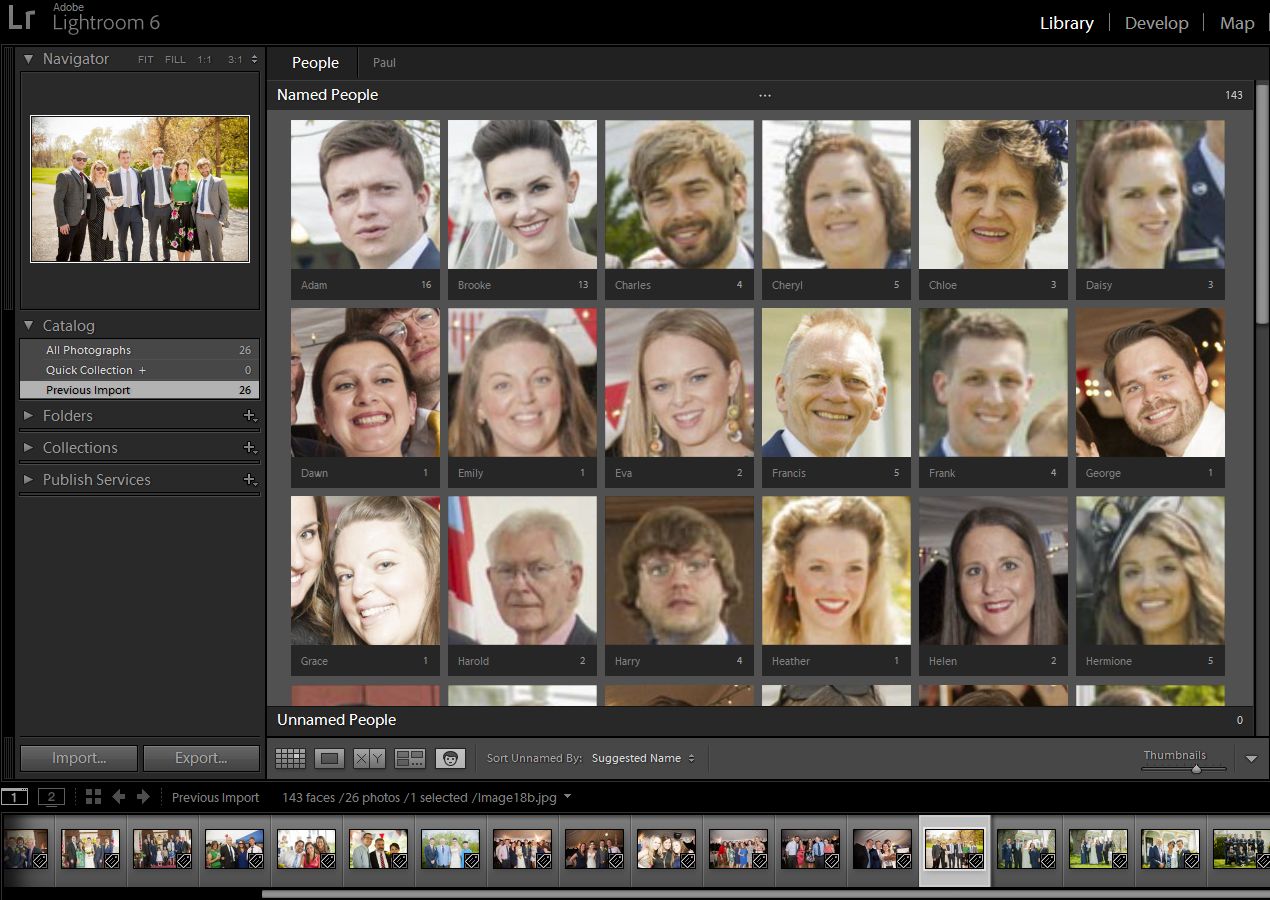
As more and more names are identified, they are moved from the 'Unnamed People' area to the 'Named People' area, and sorted alphabetically. Totals are continually adjusted.
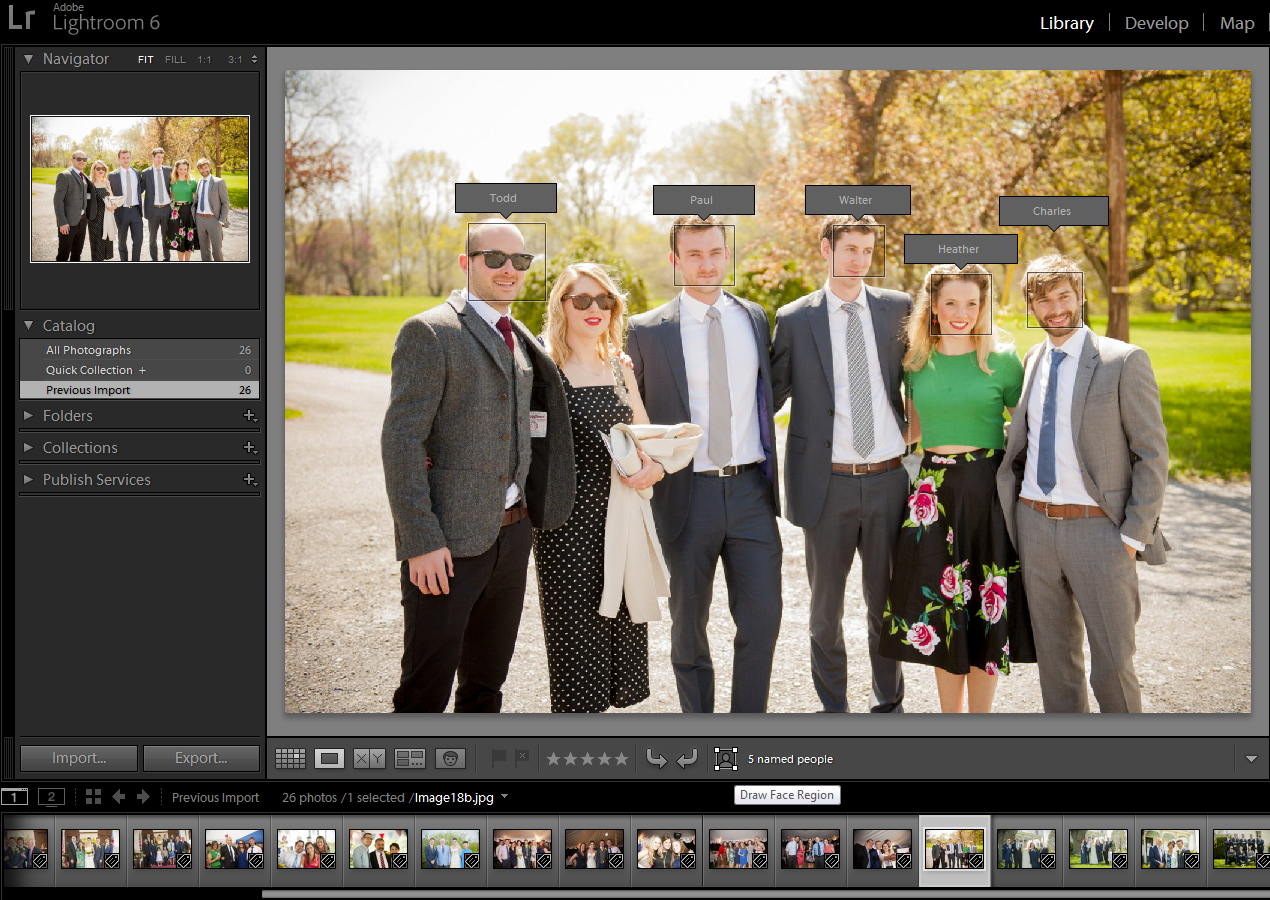
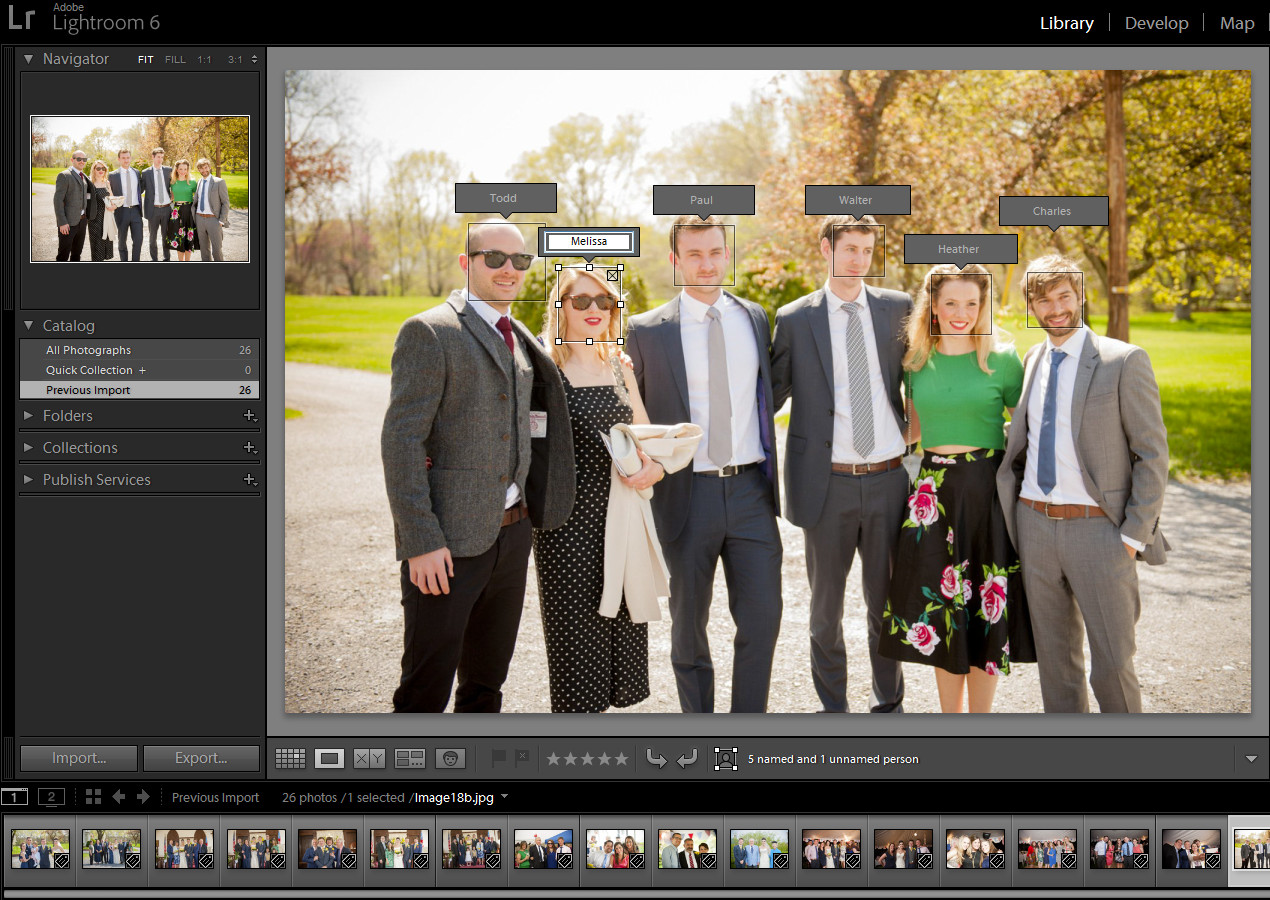
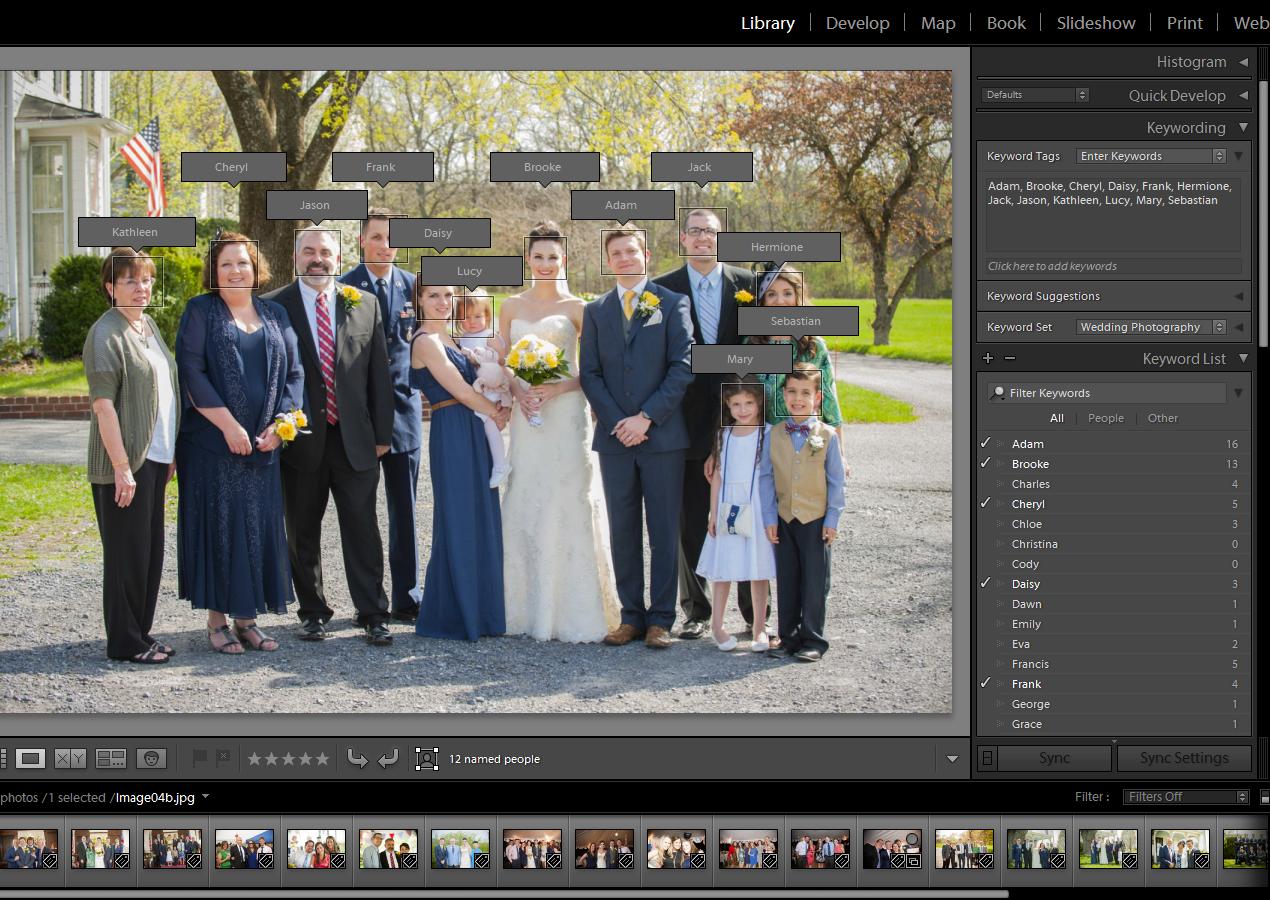
An alternative method to tag images is to use the Loupe view. Click the Draw Face Region icon ( ), and once Lightroom identifies the faces in the image, identify them. Its just like FaceBook, really!
If a face is not easily discernible in an image, Lightroom may not be able to detect it. In such cases, you can draw face regions manually. First, click the Draw Face Region icon, then draw a rectangular face region on the image by clicking and dragging across the face. A tag box will appear, and you can enter a name to tag the face.
Once all the faces in your images have been tagged, you can view them again, one after the other, in the Loupe View with the 'Draw Face Region' enabled, to check that all faces have been correctly spotted and identified.
Facial Tagging Notes
To get the best out of the facial tagging capabilities of Lightroom, it is recommended that you use the biggest photographs available, with as much clarity and detail as possible. Don't try and tag too many folders at once, or you will be over-whelmed by all the people that Lightroom will find. Is better to work only on folders that have the same range of people in them. For that reason, if you are a wedding photographer, only facially-tag one wedding at a time. If you are not personally familiar with the people in your photos, it can be quite difficult matching name to name, especially if they have changed outfits, or removed hats and sunglasses.
Click to visit Part Three of this tutorial.
Note: the names used for the people in the photos in this article are imaginary.


